How Push Piers Work: Load Transfer Explained
Push piers drive steel to refusal and bolt to the footing. See the bracket, the ram, and how load moves from the house to bearing soil.
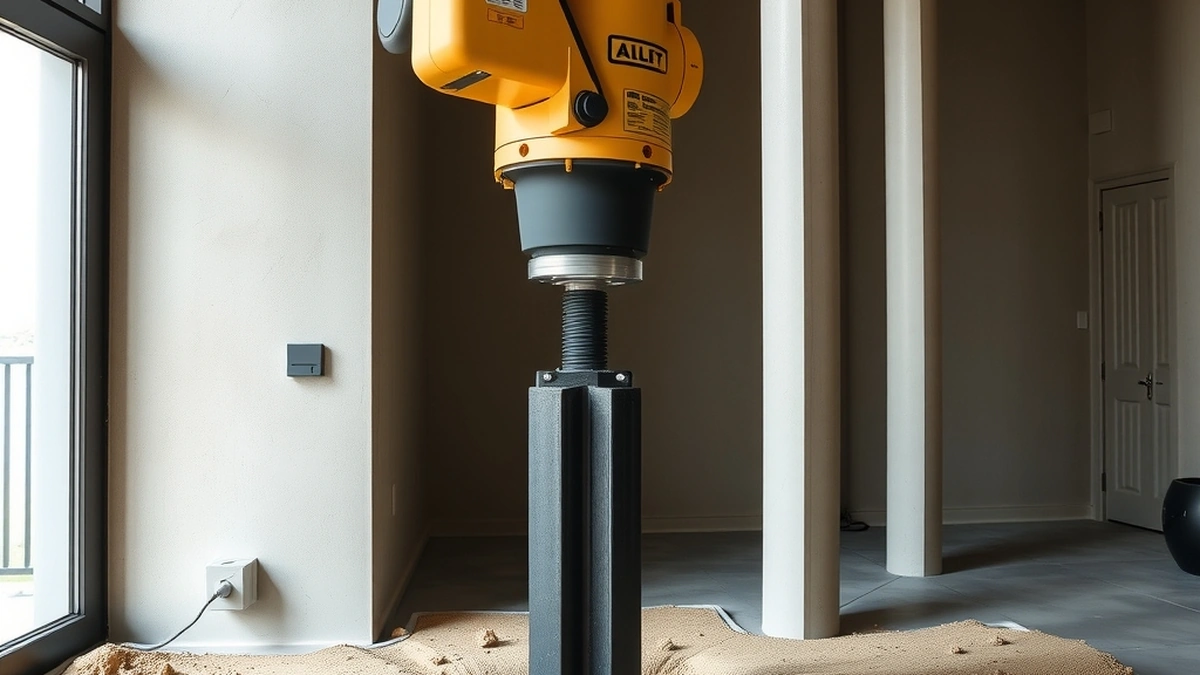
Push piers work by driving steel tube sections through a footing bracket until they reach refusal, then transferring the house load from weak soil to a deeper bearing stratum. Piers cost $1,000 to $3,000 each.
- Cost per pier
- $1,000 - $3,000
- Typical depth
- 15 - 30 feet
- Installation
- Driven to refusal
- Load transfer
- Bracket to pier
- Typical job
- $6,000 - $30,000
Some links on this page are affiliate links.If you buy through them we may earn a commission at no extra cost to you. We do not accept payment for rankings. Read the full disclosure.
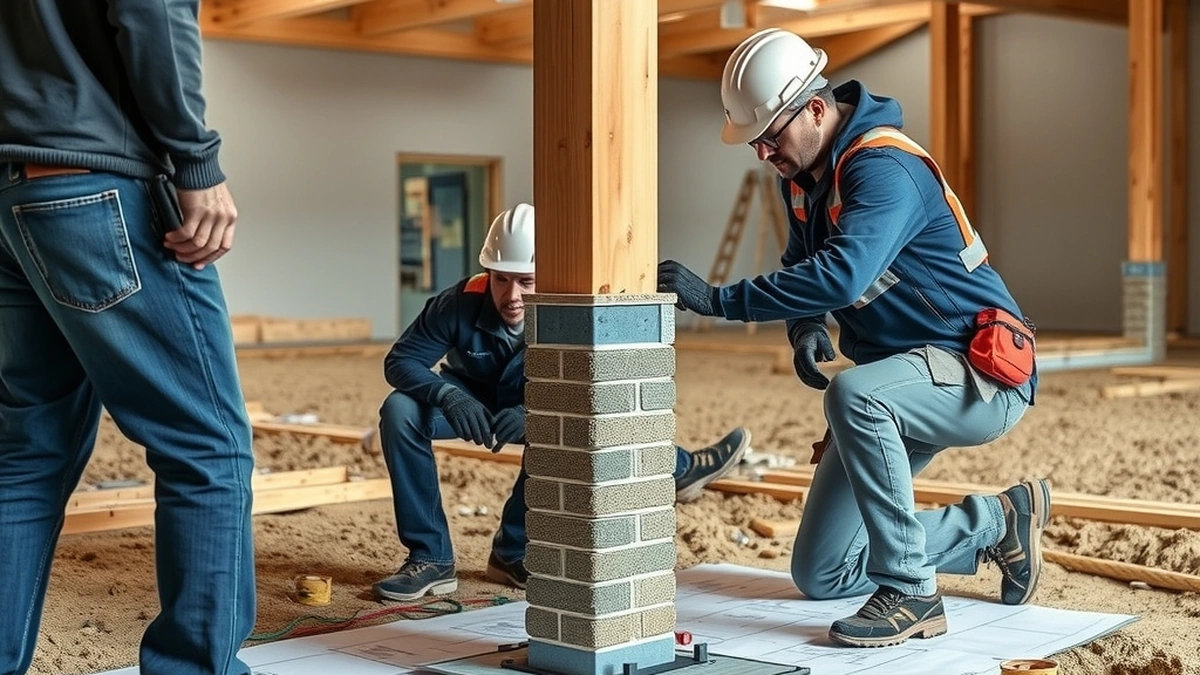
Push piers work by moving the load of the house off weak soil and onto steel that reaches a stratum capable of carrying it. A bracket is bolted to the existing footing, steel sections are driven down by a hydraulic ram until they stop advancing, and the bracket is then loaded. The house does not need to be demolished or replaced.
The Bracket
The bracket is the connection between the house and the pier. It is a steel assembly that wraps under the footing edge and bolts to the face of the concrete. The bracket has to bear on sound concrete, because a crumbled footing cannot transfer load no matter how strong the pier is.
Bracket design varies with footing type. A standard bracket suits a rectangular concrete footing. A stone or rubble footing may need a concrete collar poured around it before the bracket can be attached. That detail is why the excavation stage includes an inspection of the footing, not just a hole.
The Ram and the Sections
The hydraulic ram sits on the bracket and pushes steel tube sections into the ground one at a time. Each section is typically 3 to 4 feet long and is joined to the previous one with a friction collar or a weld.
The driving continues until the pier reaches refusal, which is the point where it stops advancing under the ram’s load. The pressure at refusal is recorded, and the depth is logged. Those two numbers are the proof that the pier reached something competent.
| Part | Function | Why it matters |
|---|---|---|
| Bracket | Connects footing to pier | Must bear on sound concrete |
| Ram | Drives the sections | Controls depth and pressure |
| Steel sections | Carry load to bearing | More sections for deeper soil |
| Collar or weld | Joins sections | Continuity of the load path |
| Lock-off plate | Holds the lift | Prevents the pier backing off |
Each part has a failure mode. A bracket on crumbled concrete slips. A collar that is not fully engaged shears. A lock-off that is not tightened lets the structure settle back. The installation is a chain, and the weakest link sets the result.
Why Refusal Matters
A pier that stops because it hit a boulder is not the same as a pier that stops because it reached dense soil. Refusal pressure helps distinguish the two, and the engineer’s design sets a minimum pressure and depth.
If the pier refuses early, the contractor may need to reposition it or drive a second one nearby. If it refuses late, the extra steel and time are usually billed as an overrun. Both outcomes should be anticipated in the contract.
The Load Transfer
Once the pier is set, the bracket is loaded by tightening the connection or by lifting the structure. The load path changes from footing-to-soil to footing-to-bracket-to-pier-to-bearing-stratum. That is the whole repair in one sentence.
The lift is done slowly. The house is raised in increments of an eighth to a quarter inch, and the crew checks doors, windows, and plumbing between passes. Lifting too fast is how a repair cracks drywall or breaks a drain line.
A Costed Example
A 1,700 sq ft house has settled along one wall. The engineer specifies seven piers at $2,000 each:
7 × $2,000 = $14,000
Add engineering at $900 and restoration at 10%:
$14,000 × 0.10 = $1,400
Total: $16,300. That is a mid-range push pier job and sits inside the $6,000 to $30,000 band.
The Installation Sequence
- Excavate access trenches and expose the footing.
- Inspect the footing and attach the bracket.
- Position the ram and drive the first section.
- Add sections and record pressure and depth.
- Reach refusal at the design depth.
- Load the bracket and lift to tolerance.
- Lock off, backfill, and record the log.
Where Push Piers Stop Working
Push piers address vertical settlement. They do not resist lateral pressure, so they are the wrong repair for a bowing wall. They also do not fix heave, because a pier holds a footing down while expanding soil pushes it up.
They are also limited by access. The ram and the steel require a working area of several feet around the wall, and a wall behind a deck or a tight property line may need a different system. Helical piers use smaller equipment and are often the substitute in those cases.
What the Records Should Show
Ask for the pier log at completion. It should list each pier, its depth, and its refusal pressure. Compare that with the engineer’s design. A log that shows every pier at the same depth and pressure is suspicious, because soil varies.
Ask for the lift record too. It shows the elevation readings before and after, which is the proof that the correction achieved what the design intended.
If a contractor cannot produce either document, the repair still may be sound, but you have no way to demonstrate it. That matters at resale, where a buyer’s inspector will ask what was done and whether it was engineered. A folder with a log and a lift record answers the question in a minute; a verbal history answers it never.
For the comparison, read push piers versus helical piers and push pier foundation repair. If the concern is cost rather than mechanism, what push piers cost breaks down the price.
Frequently asked questions
How does a push pier work?
A bracket is bolted to the existing footing, steel sections are driven down by a hydraulic ram until they reach refusal, and the house load is transferred from the weak soil to the pier.
What is refusal in pier installation?
Refusal is the point where the pier stops advancing under the hydraulic load, indicating it has reached a stratum that can carry the design load.
How deep do push piers go?
Most residential push piers reach 15 to 30 feet, depending on where the bearing stratum sits. The design depth comes from the engineer's report.
Do push piers lift the house?
They can. Once the piers are set, the same hydraulic system lifts the structure in small increments to a specified tolerance.
Can push piers be installed in winter?
Yes, with provisions for frozen ground and cold-weather concrete. Excavation is harder, and some crews charge more for winter work.
How long do push piers last?
Galvanized steel piers reaching competent soil are designed for the life of the structure and are typically warranted as such, with transferable coverage.
Sources
Some links are affiliate links.If you buy through them we may earn a commission at no extra cost to you. We do not accept payment for rankings. Read the full disclosure.